Welcome to Study 2
Before you begin capturing, please watch the onboarding video below. It walks you through everything you need to know to get started quickly and produce quality work.
Please Watch This First
We strongly encourage every provider to watch this onboarding video in full before starting Study 2. It will save you time, answer common questions, and help ensure your videos are accepted.
Study 2 Onboarding Video
Provider Testimonial
Hear from one of our providers who's having success with these captures
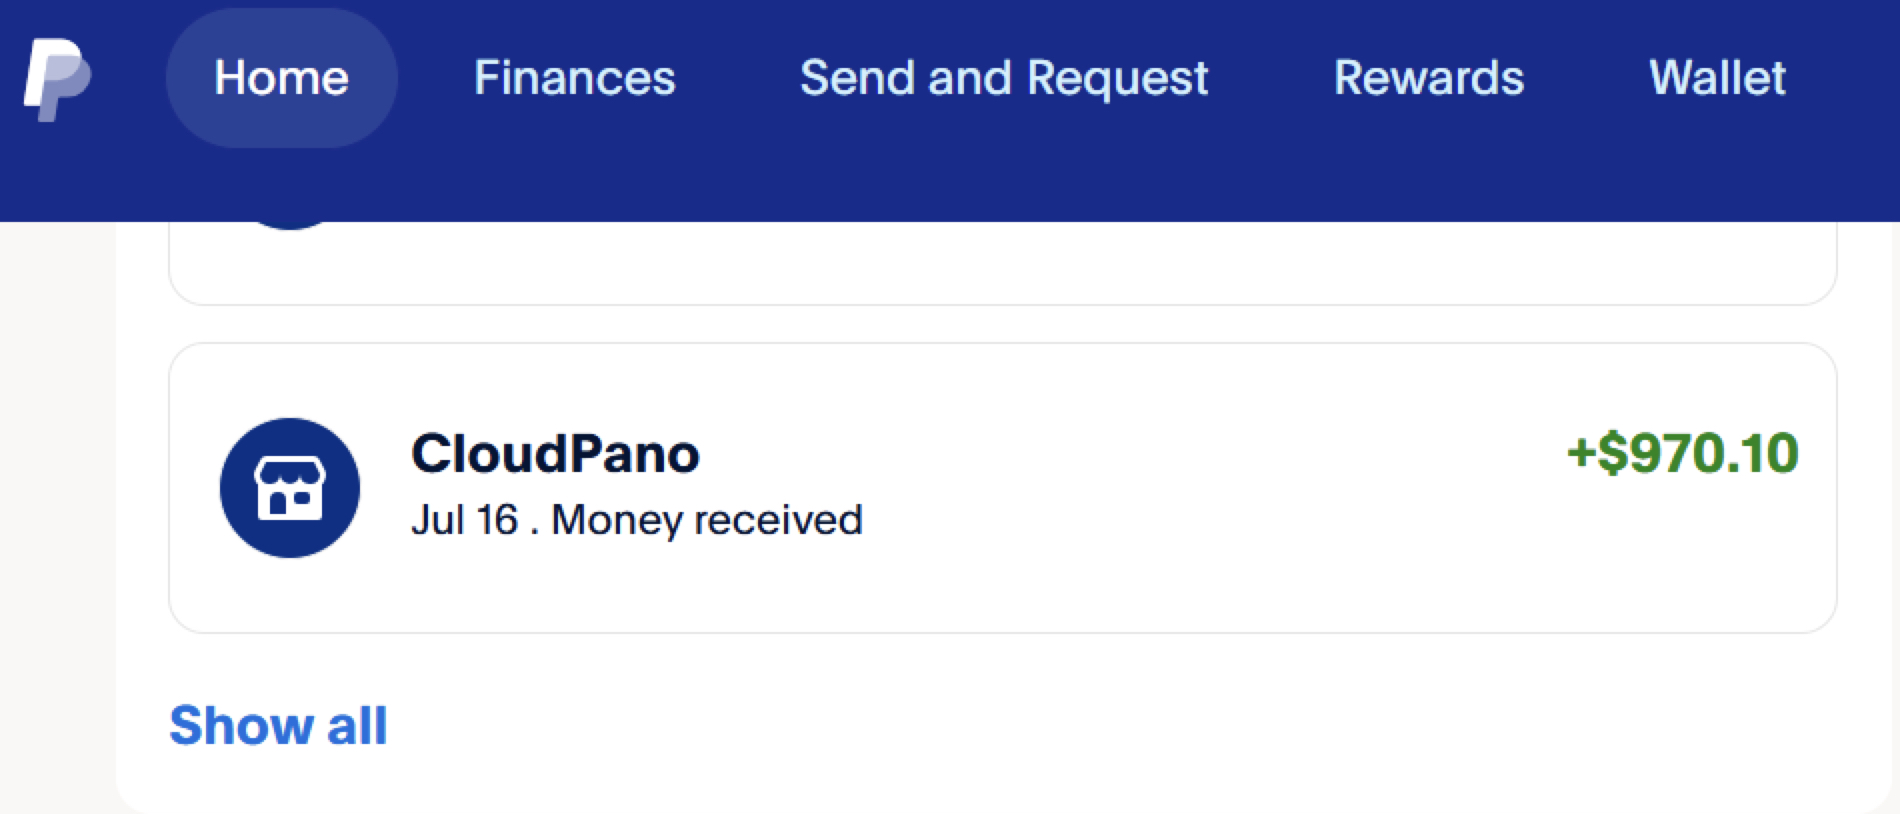
“Hi, my name is Ines. I'm from Raleigh, North Carolina, and I just made $970 working with CloudPano on data capture. Had a great experience — thank you so much for considering me. Can't wait for the next project. I loved working with you guys! It felt like a one-on-one experience; you guys were always available and willing to help, you adapted and were open to feedback, created a great platform and made the tasks fun and engaging. See you soon!”
Marcela Ines Rios Correal
Raleigh, North Carolina
Next Step: Camera Placement
Horizontal mount only — set this up before filming
The camera must be mounted HORIZONTALLY
This is the biggest change from Study 1. In Study 1, the X5 sat vertically (portrait) on the head strap. For Study 2 we need the camera turned on its side so it records horizontally (landscape) in a wide 16:9 frame. That requires the horizontal head mount adapter. Clips submitted in the old vertical orientation will not be accepted for Study 2.
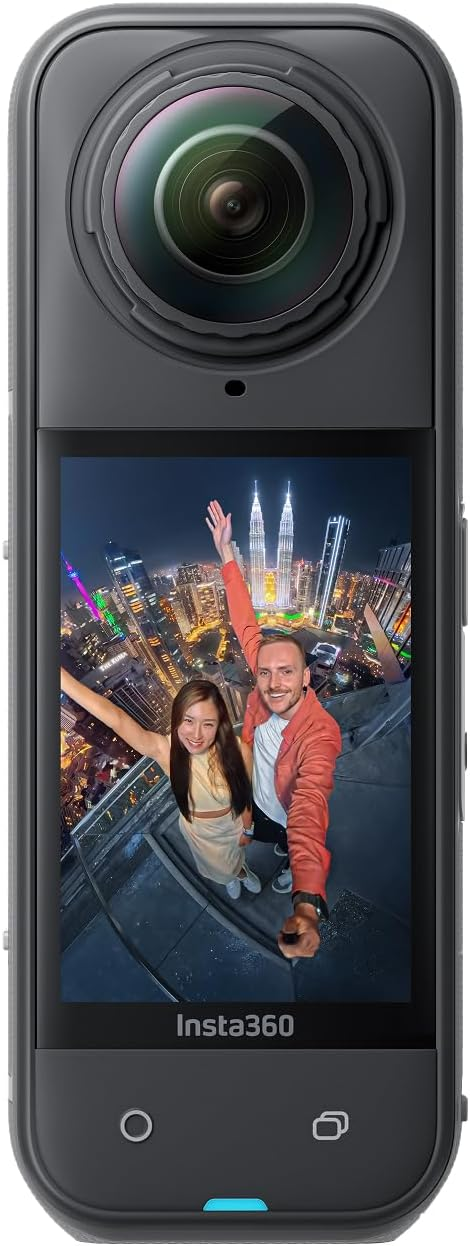
Vertical (portrait)
Same camera you already have — just don't mount it upright like this for Study 2
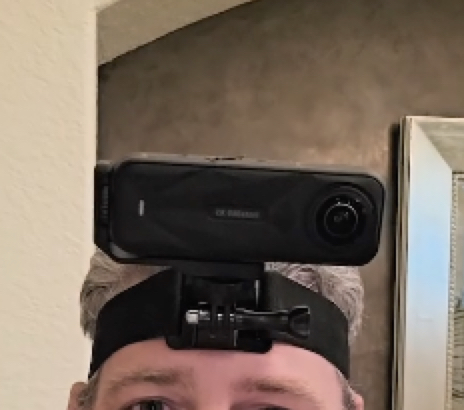
Horizontal (landscape)
Wide 16:9 frame, camera turned on its side on your forehead
- Use the horizontal mount adapter on every shoot. The L-bracket rotates the X5 onto its side so the footage comes out landscape. Double-check the orientation in the app before you start recording.
- Avoid mounting the device too high. If the camera sits too high, your face ends up in the field of view (FOV). Keep it positioned so your face stays out of frame.
- Mount the X5 closer to your left eye rather than the middle of your forehead. This gives us the best first-person perspective.
- Keep the camera angled high. Angling it too far down will capture your own face and chest instead of the task in front of you.
Next Step: Know Your Protocol
Study 2 is protocol-driven — follow the steps in order
Unlike Study 1, every Study 2 capture follows a specific protocol from the catalog. Each protocol lists the exact steps to perform, in order, along with any notes and suggested objects. Review your assigned protocol carefully before you press record.
Only capture protocols marked Available. Protocols marked Under Review are not cleared for collection yet — filming them will not be accepted.
- Read your assigned protocol end to end before you start filming — each one has ordered steps you need to follow in sequence.
- Only capture protocols marked Available. Anything marked Under Review is not cleared for collection yet.
- Follow the step order exactly as written. Skipping or reordering steps makes a clip unusable.
- Capture one protocol per clip unless your assignment says otherwise.
- Re-check the suggested objects line for your protocol and try to bring those objects into frame.
Critical Rule: No Faces In Your Captures
You must be the only person in frame
Our goal is to limit any faces in the captures.
Do not record other people. No faces, no group activities, no one sitting across from you. Plan every shoot so you are the only person in frame — film at home when others are out, pick off-peak hours for public routines, and keep the camera aimed at your own hands and the task in front of you instead of panning across a room.
 Not acceptable
Other people's faces in frame
Clips built around other people will be rejected. This includes family, friends, coworkers, and anyone seated or standing in your field of view.
 Correct
Only you and the task
Your own hands, the objects you're using, and the space in front of you. This is the framing we need for every routine.
If it happens anyway, that's okay. Someone may walk past you in a store or cross the frame in a restaurant — we will blur those faces in post. Just treat it as the rare exception, not the plan.
Next Step: Consent & Release Forms
Backup only — the goal is that no one else appears in your video
Scope update: group activities have been removed, and no one else should appear in your video. Plan every shoot as a solo capture — you are the only person in frame. If someone incidentally crosses the frame, that's okay and we will blur them, but do not plan clips that involve other people.
If another person is deliberately part of the recording, you must still collect a signed consent form from them before submitting. This applies to anyone whose image, likeness, or voice is captured — including family, friends, or bystanders. You must keep a copy for your records and send the signed form(s) over to us along with your footage. Recordings that include people without a signed consent form cannot be accepted.
Participant Consent & Release Form
Use this form for any adult (18 or older) who appears in your recording. Each adult participant must read and sign their own copy. Open the document, then go to File → Make a copy to create your own version — please do not request edit access to the original.
Open Adult FormParent / Guardian Consent Form (Minors)
Use this form for anyone under 18 who appears in your recording. It must be completed and signed by the minor's parent or legal guardian. Open the document, then go to File → Make a copy to create your own version — please do not request edit access to the original.
Open Minor FormNext Step: Uploading Your Videos
Follow these tips for smooth, successful uploads
What's New
- Google Drive link uploads — You can now submit a slot by pasting a Google Drive file link right from the upload screen, alongside the regular file upload. Whichever is easier for you.
- Clearer error messages— If something goes wrong on the Uploads page, you'll now see a specific reason (e.g. "File never reached storage" or "Upload failed") instead of a vague message, so it's obvious what to do next.
Uploading with Google Drive
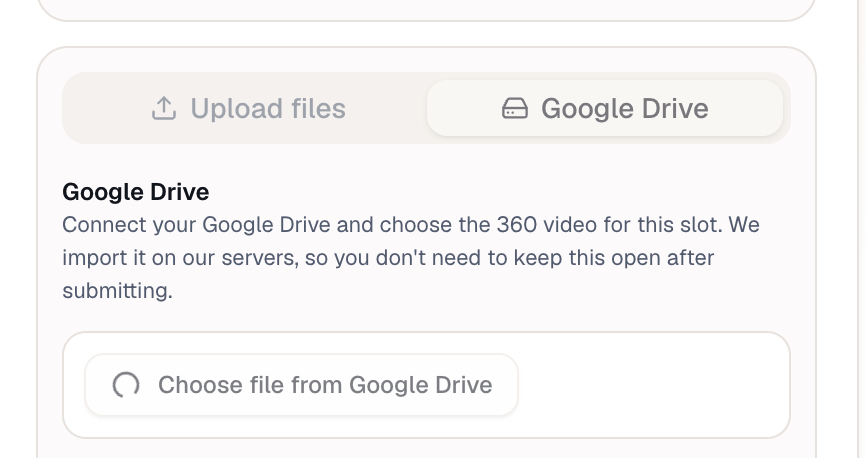
On the upload screen you'll see two tabs: Upload files and Google Drive. If you'd rather not upload directly, switch to the Google Drive tab and connect your account, then choose the 360 video for that slot. We import it on our servers, so you don't need to keep the tab open after submitting — making it a great option for large files or slower connections.
Tips to Avoid Upload Issues
- Keep the browser tab open until the upload hits 100%.
- Use wired or strong Wi-Fi — not a mobile hotspot.
- Plug in your laptop so it doesn't go to sleep.
- Don't move or rename the file while it's uploading.
- For Google Drive: share the file (not the folder) and set it to "Anyone with the link can view."
- Only upload .mp4 or .insv files.
Troubleshooting Guide
File never reached storage
Browser closed or internet dropped. Retry, and keep the tab open until 100%.
Upload failed
Network error. Confirm the file is still on your computer and retry.
Pending for too long
Upload was abandoned. Retry.
Preview failed
Wrong or corrupted file. Re-check it's the right .mp4 / .insv and re-upload.
Preview stuck on processing
No action needed; an admin will regenerate the preview.
Big file stuck
Don't close the tab, use wired internet, and keep your laptop awake.
"Folder links aren't supported"
Copy the link to the file, not the folder.
Drive link won't open
Set sharing to "Anyone with the link can view."
Delivery failed
No action needed; an admin will retry delivery.
Wrong file type
Only .mp4 or .insv files are accepted.
As always, reach out if you hit something not covered here and we'll help you sort it out.
Finished Watching?
Once you've watched the onboarding video, review the full Study 2 protocol catalog and eligibility rules, then start capturing your assigned protocols.
Having trouble? Contact us at support@cloudpano.com